Installation example
```bash ubuntu@ce-host:~$ curl -sfL https://go.pcd.run | sudo bash Private Cloud Director Community Edition Deployment Started... By continuing with the installation, you agree to the terms and conditions of the Private Cloud Director Community Edition EULA. Please review the EULA at: https://platform9.com/ce-eula Do you accept the terms of the EULA? [Y/N]: y Private Cloud Director can install a Kubernetes management plane that lets you provision managed Kubernetes clusters. This is optional and adds ~10 minutes to install time and requires additional CPU / memory (see [Prerequisites](prerequisites.md)). Enable Kubernetes management plane? [y/N]: y Finding latest version... Done Downloading artifacts... Done Configuring system settings... Done Installing artifacts and dependencies... Done Configuring Docker Mirrors... Done SUCCESS Configuration completed INFO Verifying system requirements... ✓ Architecture ✓ Disk Space ✓ Memory ✓ CPU Count ✓ OS Version ✓ Swap Disabled ✓ IPv6 Support ✓ Kernel and VM Panic Settings ✓ Port Connectivity ✓ Firewalld Service ✓ Default Route Weights ✓ Basic system services Completed Pre-Requisite Checks on local node SUCCESS Cluster created successfully INFO Starting PCD management plane SUCCESS Certificates generated SUCCESS Base infrastructure setup complete SUCCESS Installed Kubernetes management plane SUCCESS pcd-virt deployment now complete SUCCESS Final touches... Private Cloud Director (Community Edition) deployment complete! How would you rate your Private Cloud Director (Community Edition) installation experience? (1-5, press Enter to skip): 5 ------------- deployment details --------------- fqdn: pcd.pf9.io region: pcd deployment status: ready region health: ✅ Ready version: PCD 2026.4-116 -------- region service status ---------- desired services: 56 ready services: 56 Login Details: URL: https://pcd.pf9.io email: admin@airctl.localnet password: wVXJbocBrZaqcjtS See documentation at https://pcd.run for next steps. Join the support community at https://reddit.com/r/platform9 ubuntu@ce-host:~$ ```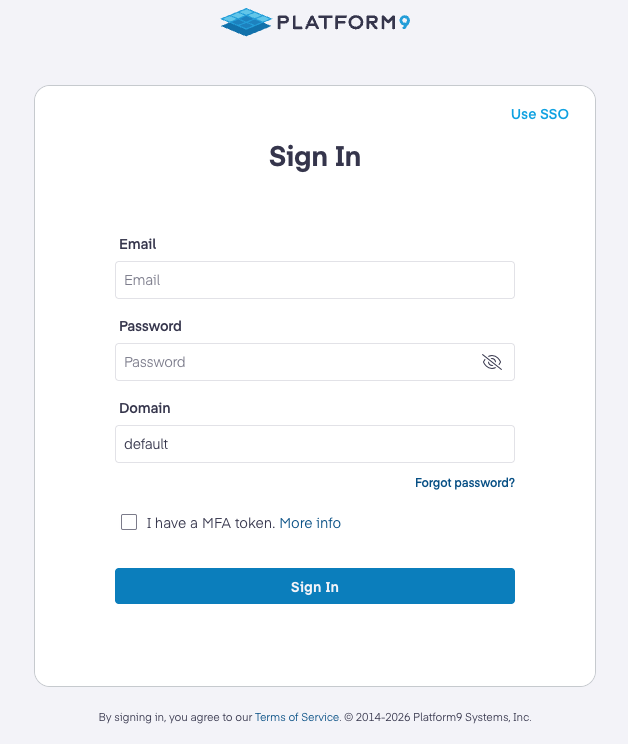
Private Cloud Director Community Edition local credentials login screen
space.vars.product\_name services.
Create separate users for administrator or self-service access.
{% hint style="warning" %}
The default admin account is also used for Grafana authentication. Changing the default admin email or password can break Grafana access.
{% endhint %}
### Next steps
1. See the Getting Started guide at [Getting Started](/private-cloud-director/getting-started/getting-started.md#step-2-create-cluster-blueprint-and-virtualized-cluster)
2. Follow the rest of the Getting Started guide to onboard hypervisor hosts, create networks, upload images, and create virtual machines.
***
## Operations and troubleshooting