> For the complete documentation index, see [llms.txt](https://docs.platform9.com/llms.txt). Markdown versions of documentation pages are available by appending `.md` to page URLs; this page is available as [Markdown](https://docs.platform9.com/managed-kubernetes/5.7/rbac-profiles/profile-engine-setup-guide.md).
# Profile Engine Setup Guide
This document describes the step by step process to create an RBAC profile in PMK and then to deploy it on your Kubernetes cluster.
Create a New Profile
**Step 1**. Go to the Cluster Profiles tab in the PMK UI, then click on *Add RBAC Profile*
**Step 2***.* Select a cluster that the RBAC policies will be collected from and name it. This enables you to use the cluster as a default baseline for the new profile.
**Step 3.** Now select the *Roles to add to the profile.* Once selections are completed, click *Next*.
{% hint style="info" %}
**Info**
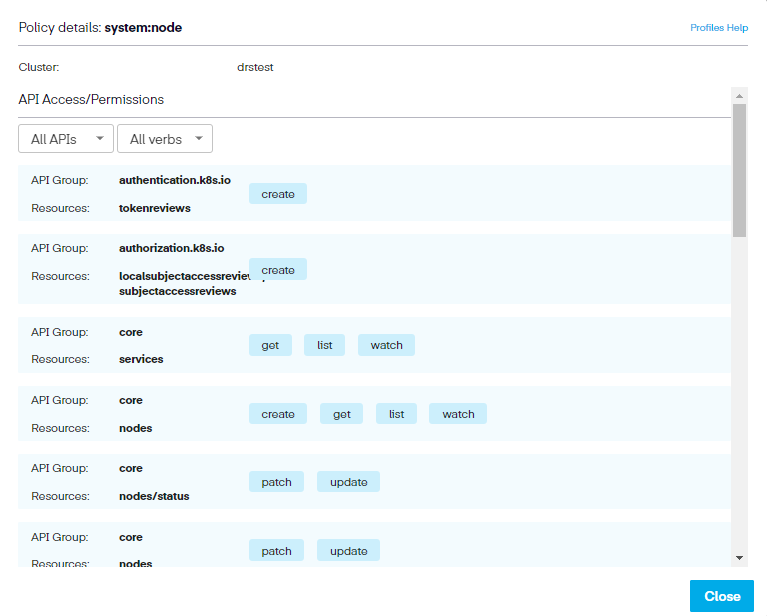
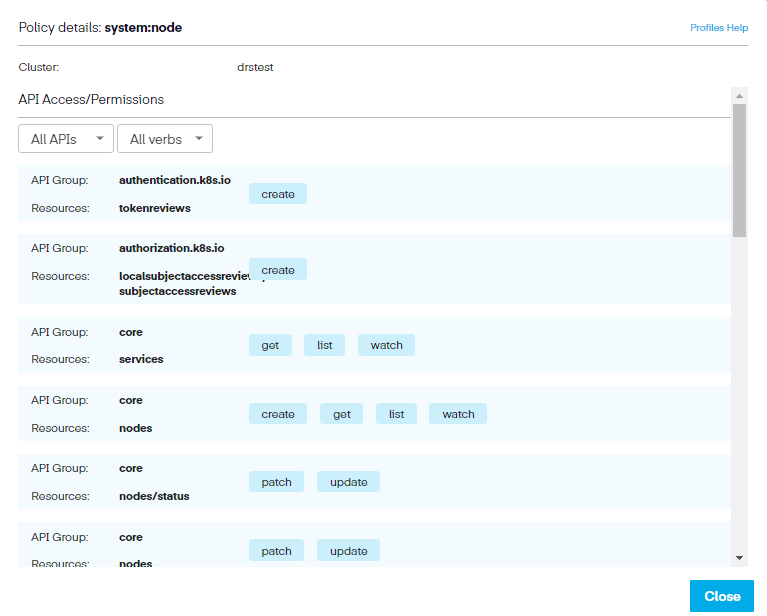
Next to each option, a small magnifying glass link opens the policy details that point out the permission settings available to that ClusterRole.
{% endhint %}
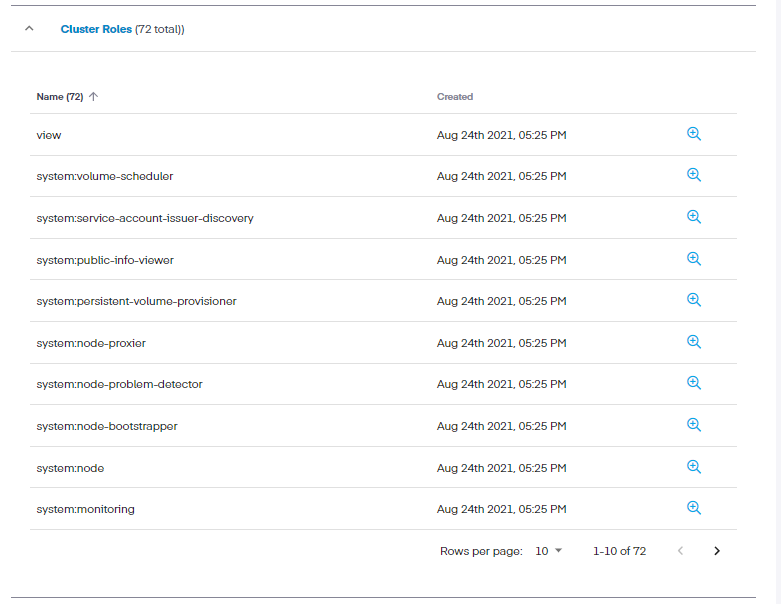
**Step 4.** In the ClusterRoles section, we repeat the process of selecting the needed ClusterRoles. Again, there are a significant number of options available (74 in total). To view the entire list, click the *Rows per page* dropdown menu and select 100.
**Step 5.** We can now begin choosing the *RoleBindings*. Identify the settings you want to allow and then click *Next*.
**Step 6.** Now we move onto ClusterRoleBindings. Select the settings you want to allow and then choose *Next*.
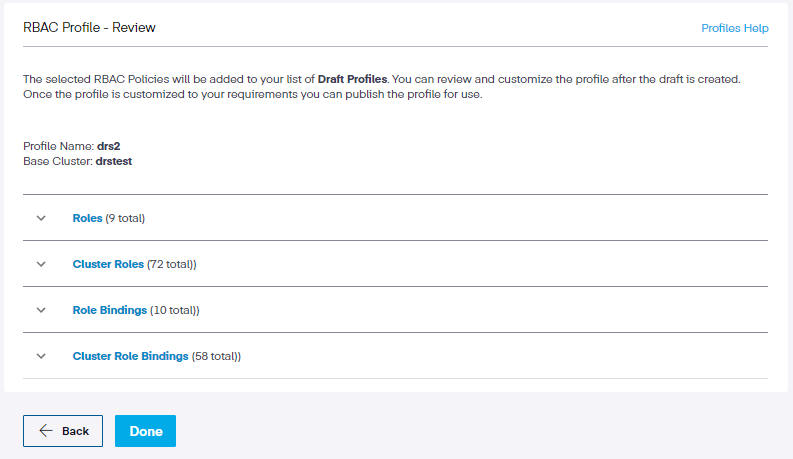
**Step 7.** This opens the Review page, where we can assess our choices before completing the profile. In the review section, we have asked the profile engine to connect to this cluster and use the settings for these Roles, ClusterRoles, RoleBindings, and ClusterRoleBindings. The profile engine then contacts the agent running in the cluster and tells it to create the profile. Once completed, it moves to a ‘Draft' status. This simply means that the profile has been generated but cannot be used yet. Since the UI polls every 30 seconds to check for updates, the changes happen quickly.
Under each policy, we can click the dropdown to review the choices we have made.
Permission information can be reappraised by clicking the magnifying glass icon link across from each setting. Also, we can sort the permissions based on API access or Verbs, which show only those resources authorized for that action.
**Step 8.** Lastly, click *Done*. This saves the profile and adds it to our list of profiles as a draft. We can then publish the profile and then deploy it.
## Update the Profile to Published State
New profiles are created in a **Draft** state by default and cannot be deployed to clusters. Once a Profile is created and ready for use, users can transition it from a Draft state to **Published** state. Profiles in Published state can then be deployed to a cluster. An optional state is **Archived** state. Archived is a read-only state. Once a Profile is Archived, it cannot be deployed.
## Next Steps
Now that you created the profile, you can [auto$](https://github.com/platform9/pcd-docs-gitbook/blob/main/kubernetes/managing-profiles/README.md)
---
# Agent Instructions
This documentation is published with GitBook. GitBook is the documentation platform designed so that both humans and AI agents can read, navigate, and reason over technical content effectively. Learn more at gitbook.com.
## Querying This Documentation
If you need additional information that is not directly available in this page, you can query the documentation by asking a question.
Perform an HTTP GET request on the following URL with the `ask` and `goal` query parameters:
```
GET https://docs.platform9.com/managed-kubernetes/5.7/rbac-profiles/profile-engine-setup-guide.md?ask=&goal=
```
`ask` is the immediate question: it should be specific, self-contained, and written in natural language.
`goal` is what the user is ultimately trying to achieve, the reason they need the answer. Sharing it helps GitBook give you a better, more relevant answer. A goal is most helpful when it describes the outcome the user wants rather than restating the question. For example, with `ask=how do I create an API token`, a goal like `automate deployments from our CI pipeline` lets GitBook tailor the answer to that use case.
The response will contain a direct answer to the question and relevant excerpts and sources from the documentation.
Use this mechanism when the answer is not explicitly present in the current page, you need clarification or additional context, or you want to retrieve related documentation sections.